
Bacon Roses
 My husband loves bacon. I didn’t grow up eating it so at first I didn’t quite understand his fascination over the greasy, salty, fatty, artery-clogging thin strips of pork.
I didn’t like it crispy the way he likes it. To me it’s pretty much like eating salt. And when it’s cooked soft, I gag at the juicy fat.
But ask me what I have with my eggs for breakfast on (most) Saturdays, or what I like to have in my burger other than the fresh cut veggies, and the answer would be… BACON.
Yes. I have been a convert. When they go on sale, we buy packs of them!
To commemorate my husband’s love for bacon, I have been making him a bouquet of bacon roses for Valentine’s Day. It all started a few years ago, and it had become a yearly tradition that my husband enjoys coming home to (other than his lovely wife I hope! and beautiful girls of course!).
It’s really a very simple process.
And it tastes as good as it looks!
(This year though, I wasn’t as prepared as other years because I realized as I was preheating my oven that I do not have any green onions or spinach in the fridge. Nonetheless, I still made him bacon buds! So the pictures of the bouquet of roses are from last year, while the bacon buds are the ones we had tonight. Using the thicker cut of bacon made a much nicer looking buds. I wish I had taken a photo of it when it was done cooking. But we ended up devouring it before I had the chance! I’ll update the photos on this post when I get to make it again).
Let’s get to it. Shall we?
BACON ROSES
Ingredients:
- A pack of bacon (I used the thick cut)
- Green onions
- Spinach
Instructions:
1. Preheat oven to 375F.
2. Roll the bacon strips (starting from the narrow end to the wider end) and secure with a toothpick. Position the bacon buds in a mini muffin pan (fat side down) and place in the oven for 30-35 minutes or until the meat is done. (If your cut of bacon has lots of fat, you may need to drain your muffin pan by scooping out the grease so the meat and fat will firm up more).

3. While waiting for your bacon buds to bloom cook, prepare your stems. (I like making everything edible so I use green onions for my stems and spinach for my leaves). Wash the green onions and trim top ends. 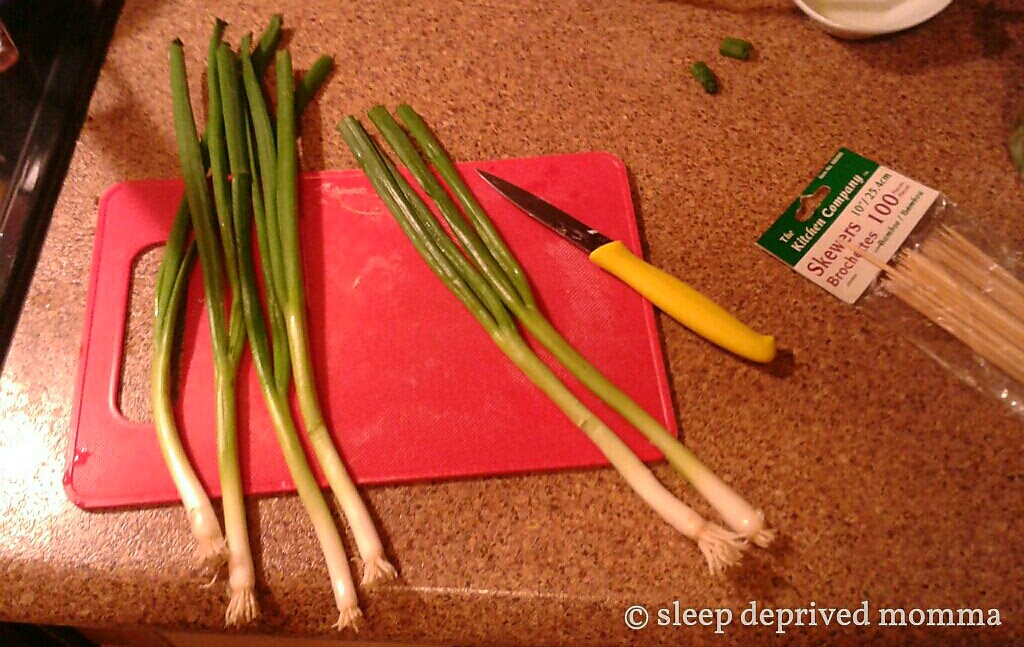
4. Once your bacon buds are done, remove the toothpicks. Place the bamboo skewers into the green onions (from the top), thread some spinach and then place the bacon buds on top. 
5. Wrap the bouquet of bacon roses in foil and serve.
Enjoy! 🙂
Disclaimer: I don’t normally use measuring spoons/cups when I cook. Unless I’m baking of course. Cooking is more of an art. So when I cook, I usually just eyeball things. The key is to taste your food while you cook, and adjust your spices as your taste buds dictate. What maybe sweet for me, may not be the case for you. Hence, the lack of measurements on my recipes. I will leave that up to you. All the necessary ingredients (and tips!) however will be provided.
Happy
experimentingcooking!
Zhi