DIY Angel’s Wings

We did a Christmas musical play in our church 2 years ago and I worked on some of the props. No point on buying something if you can make it, right? That’s my philosophy anyway.
Today, let me share with you how I made these angel’s wings. (I wish I have some pictures of the 2 lovely angels wearing these gorgeous wings, but I was in the play myself so I wasn’t able to carry my camera around).
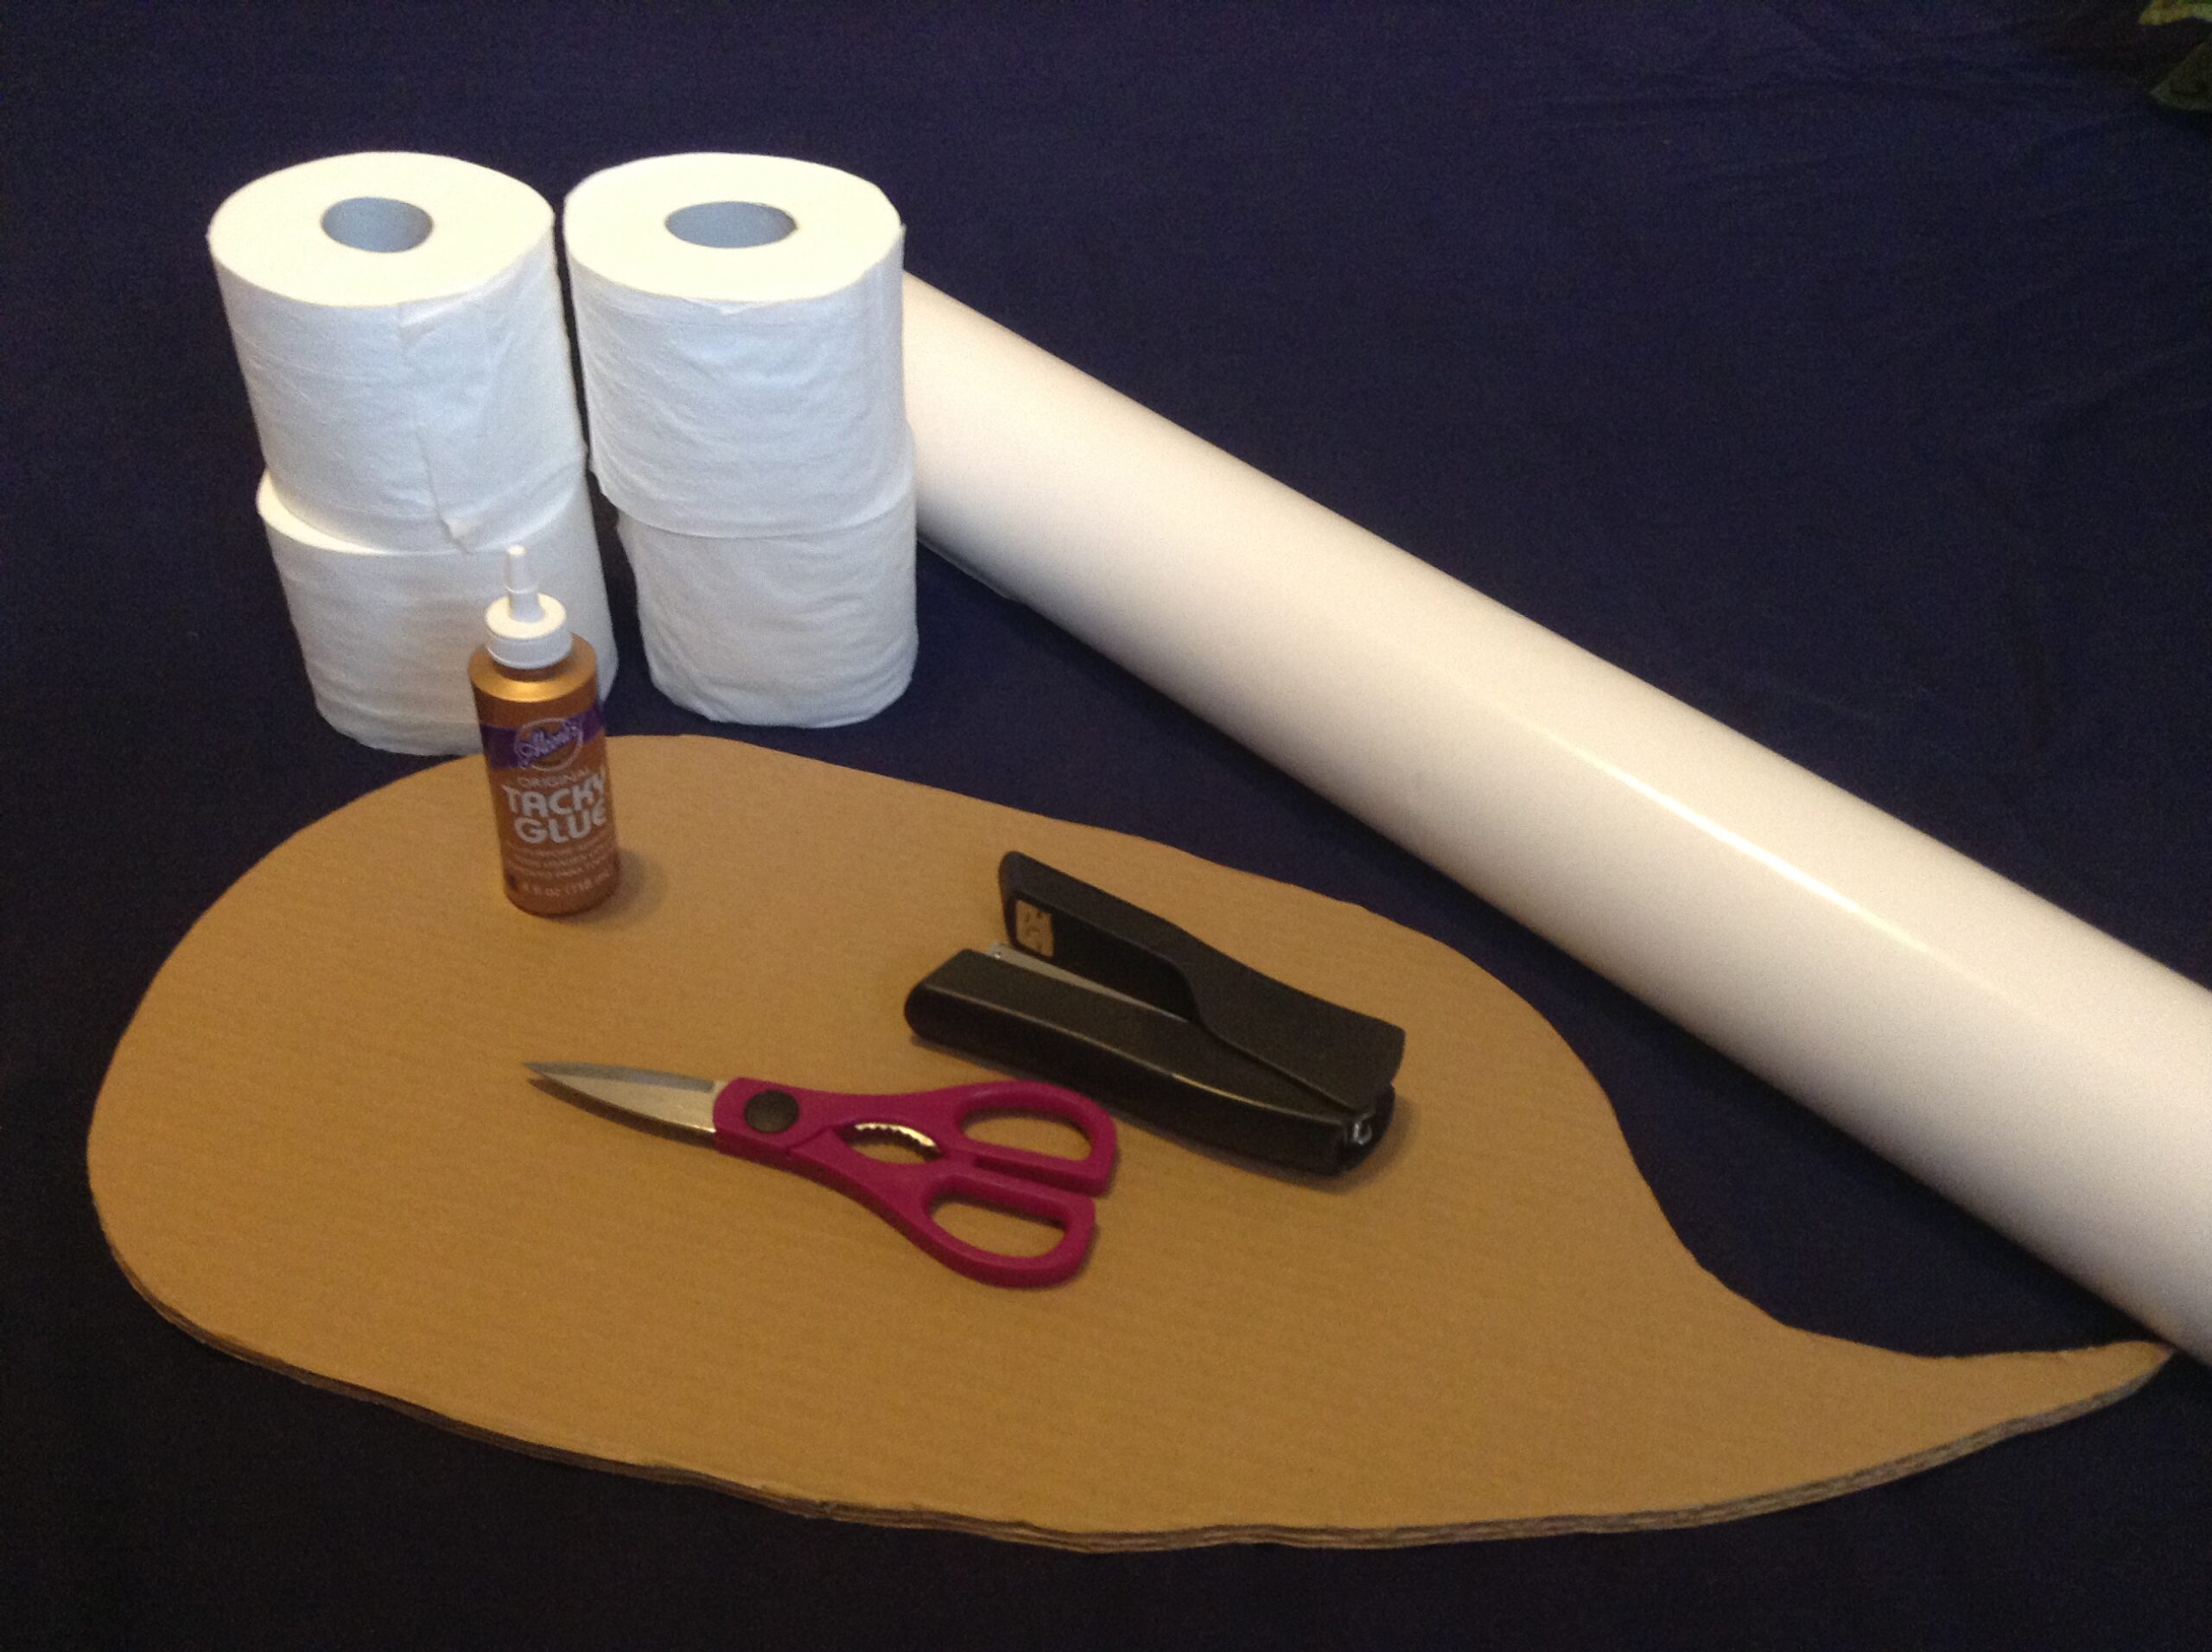
Anyway, here are the materials you will need:

1. Old cardboard boxes
2. Rolls of toilet papers
(I used the ones we have at home. You can buy the cheaper ones at the dollar store. I can’t remember now how many I used. I made 2 pairs of wings. The number of rolls you will use depends on your brand of tissue paper. Some are longer than others and have more than 1-ply).
3. Pencil.
4. Sharp scissors.
5. Duct tape.
6. Tacky glue.
7. White paper
(Our pastor’s wife gave me this huge roll of shiny white paper so I didn’t even bought that. I’m sure you can find them in any craft store, perhaps even at Walmart).
8. Stapler.
9. White ribbons (Not in the photo).
TUTORIAL:
Step 1: Draw 2 wings on the cardboard box and cut them out. (I drew one wing first and then I cut it out and used it as my template so all my wings are identical).
Step 2: Staple a piece of white paper on one side of the cardboard. This will be the inside of your wings. (Make sure you staple your white paper on the right side of your wings. One wing has to be facing the other way).

Step 3: Tear the roll of toilet paper into individual squares. Take one square and bunch it up in the middle and apply tacky glue at the tip and stick it to the top of the cardboard side of your wings.
Step 4: Repeat this process until you cover the entire wing with soft and fluffy tissue paper.

Step 5: Follow Steps 1-4 for wing number 2.
Step 6: Attach the 2 wings at the back using duct tape.
Step 7: Poke 2 holes (top and bottom) from the back side of each wing and insert your white ribbon. Tie a few knots at the ends to secure it in place. Before you cut the ribbons, make sure it is the right length. (QUICK TIP: I poked the holes at the top of my wings first, inserted the ribbons and then I put the wings on and estimated how high or low I want my wings to be depending on the height of the angels who will wear them. Then I cut my ribbons). Leave an extra 2-3 inches from your desired measurement to make room for the knots.

Step 8: Wear your beautiful wings with pride!
I hope you’ll enjoy making this as much as I did. Have fun! 🙂
<3 Zhi


Comments (2)
Sharon Harris
September 29, 2019 at 7:22 pm
They look beautiful and I hope I can be as creative as you since I have four sets to make for our play.. Can you tell me what the dimensions are, please? Also, do you know another way to attach wings without the straps? I have 2 male angels and I’m not sure the straps would look good on them. Thank you so much.
Zhi
November 19, 2019 at 1:53 am
Pardon my late reply. I just saw your question now while I’m feeding my 11th day old baby. Clearly you can tell I have not been on my blog much. To answer your question, I’m afraid I cannot give you the exact dimensions. I made these wings years ago. I drew the wings free hand on a cardboard making sure that they will be big enough as wings for the 2 adults that will be wearing them. I am not sure how you could attach the wings without the straps. Perhaps you could use a more subtle coloured ribbons? Like a sheer one so it won’t be as obvious? Or maybe there could be away to attach them directly on the robe of the angels with a heavy duty duct tape or even maybe lacing it to the back of the robe (you would need to punch several holes on the wings and the robe and lace is as you would with your shoes?). But those methods I think would require more work than just by simply attaching them with straps. I hope you’ll find what works for you! I’m sure it will be wonderful! Send me pictures. I would love to see them!